Adding an Azure Container Registry
To link your Azure Container Registry (ACR) with ODIN Fleet, follow these steps:
1. Access the Docker Registries Section
Navigate to "Settings" in the ODIN Fleet dashboard after selecting/creating your app. In Settings, navigate to the " Docker Registries" tab.
2. Add a New Registry
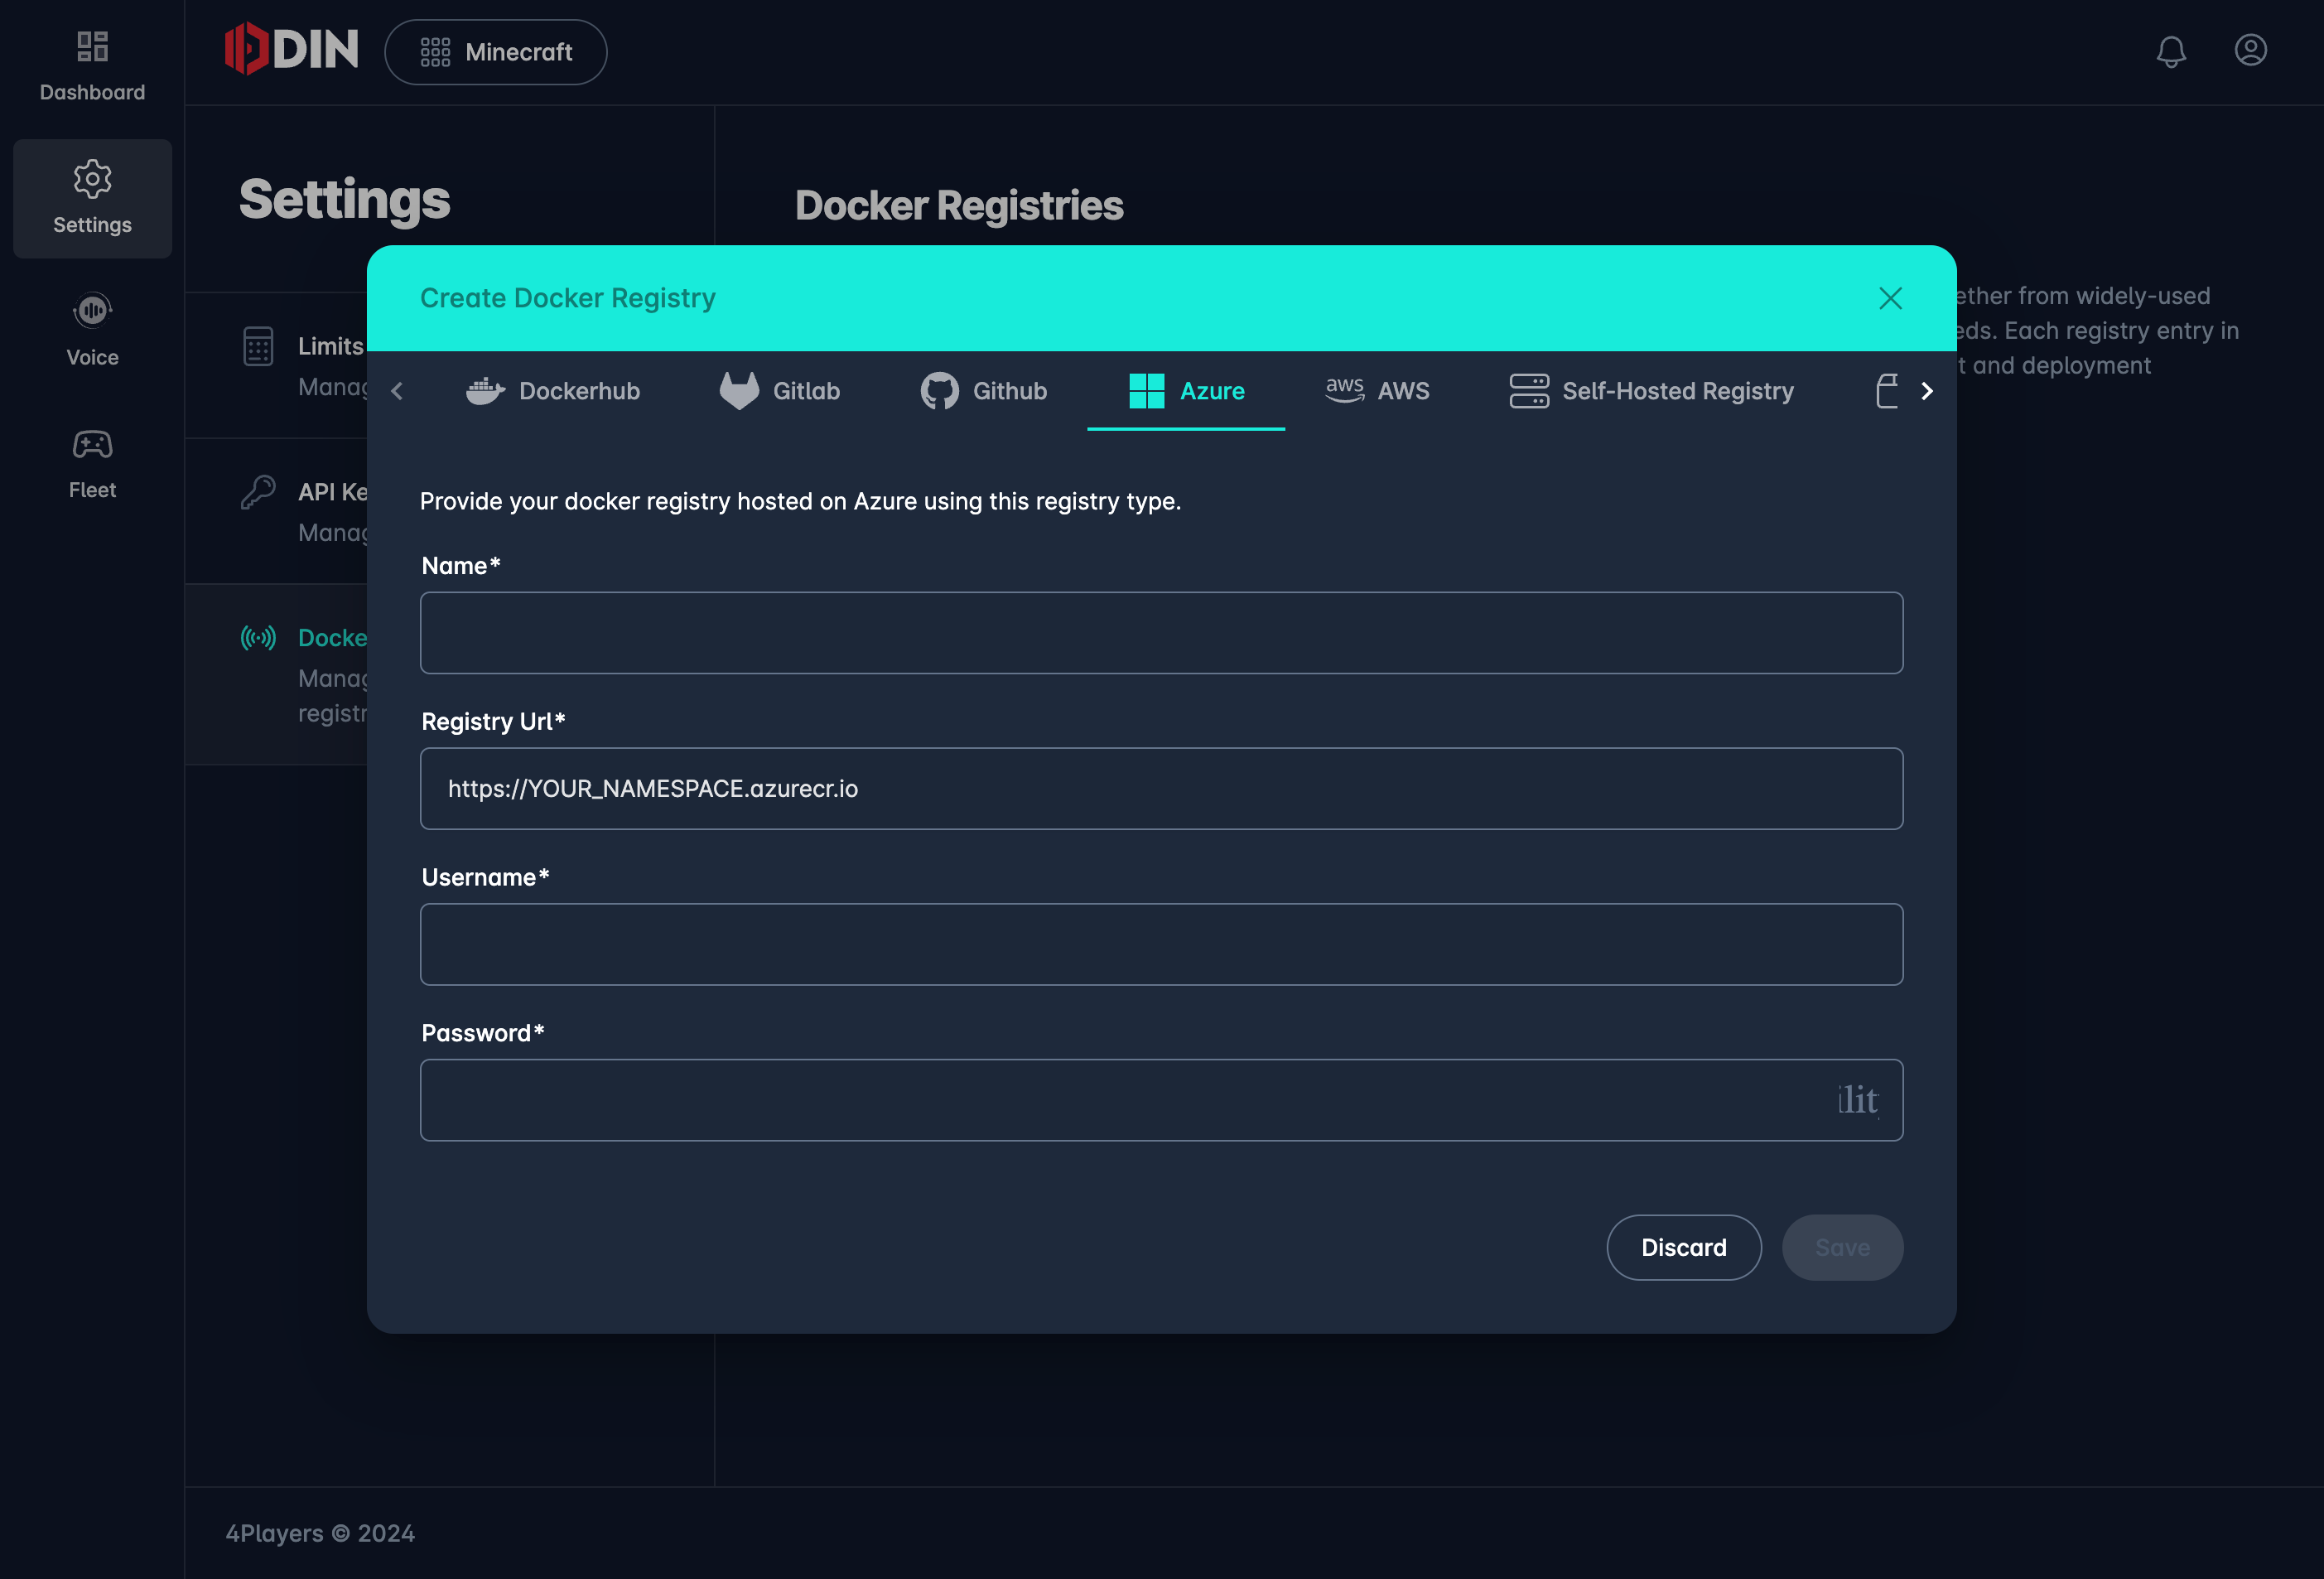
Click the "Add Registry" button and select "Azure" from the options.
3. Provide Required Information

Enter the following details to establish a connection with your Azure Container Registry:
- Name: Enter a name for this registry connection.
- Registry URL: This can be found in the Azure portal under Container registries ->
your_container_registry-> Overview -> Login server. The format is typicallyhttps://YOUR_NAMESPACE.azurecr.io. - Username: Depending on your chosen authentication method, this could be your Azure service principal, the Azure Active Directory (AD) username, or the admin username for your ACR.
- Password: Provide the corresponding password for the selected username. For admin accounts, this can be found or set under Access keys in the ACR settings.
Azure offers several authentication methods for accessing your container registry:
-
Admin Account: This is the simplest method. You can enable the admin account in the Azure portal under Container registries ->
your_container_registry-> Access keys. This method uses the registry's admin username and password. Learn more. -
Repository-Scoped Permissions (Tokens): This method allows for more granular access control. Tokens can be created and managed under Repository Permissions in the ACR settings. This approach is recommended for scenarios requiring limited access to specific repositories. Learn more.
4. Save the Configuration
After entering the necessary details, click "Save" to complete the integration.
You can now pull images from your Azure Container Registry directly within ODIN Fleet.