Photon PUN Sample
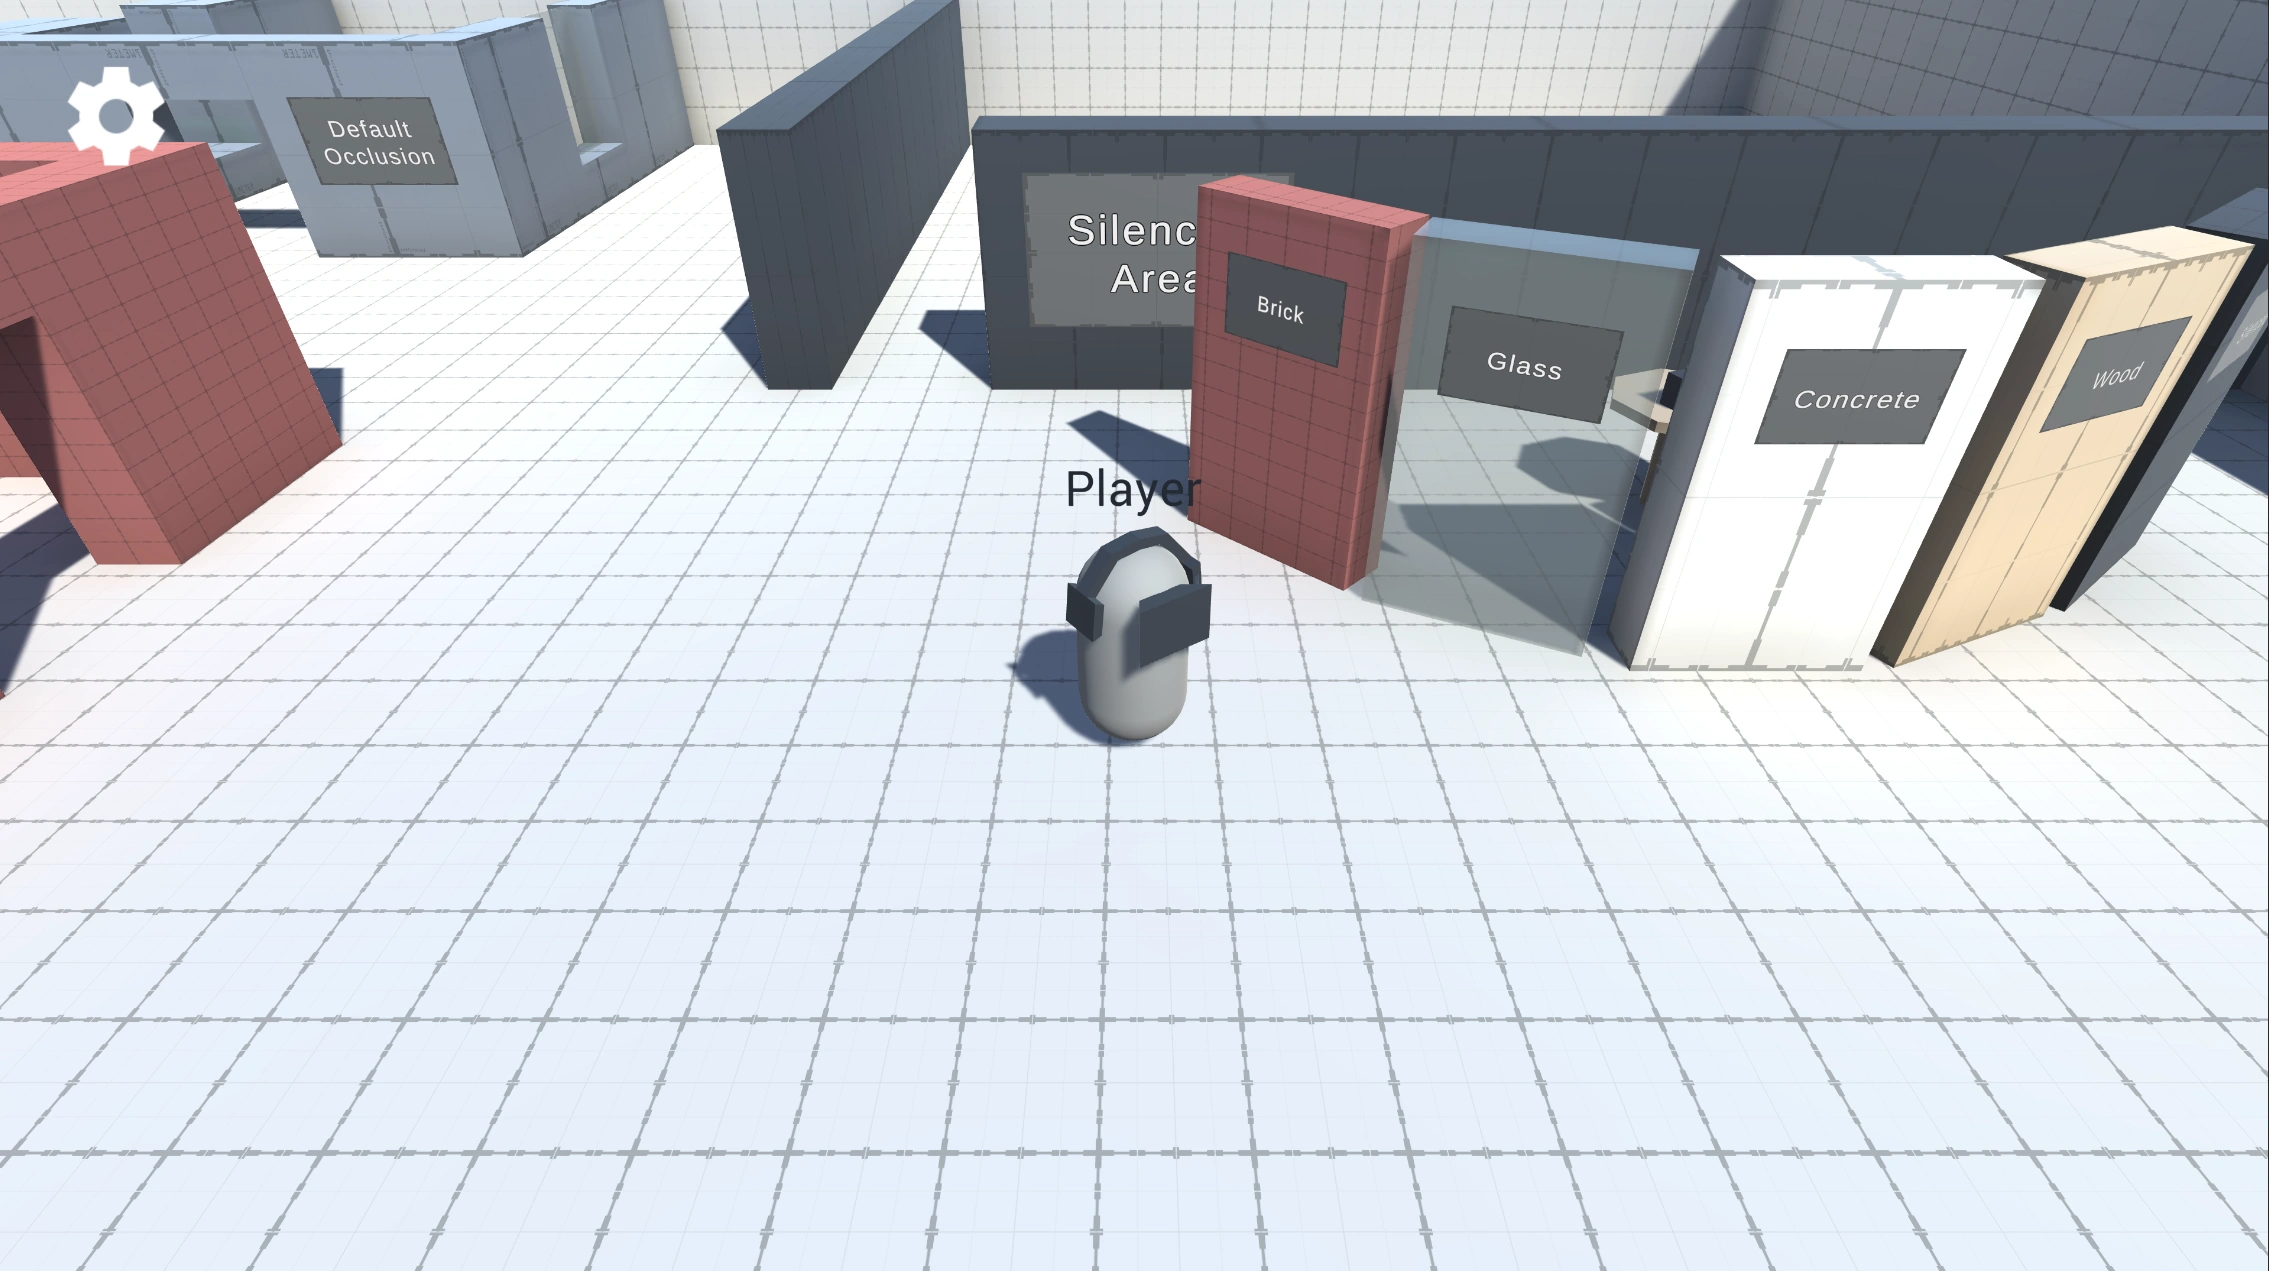
We created a sample game with Unity and Photon PUN 2 that showcases all features of ODIN in a simple example.
It's open source and available in our Github repository. You can download the binaries to test it here:
Download Sample nowIn this guide, we’ll walk you through the basic concepts of integrating ODIN into a multiplayer game. This demo will use the Photon PUN 2 multiplayer framework, but ODIN can be integrated into your game using any multiplayer solution or even without multiplayer. The ODIN-Demo itself also allows us to easily switch out Photon for another framework.
If you are unsure why you should use ODIN for that, learn more about our features and what makes us special in our introduction.

How does it work?
The basic network topology looks like this:
Players connect to the Photon PUN 2 cloud and use that to sync the players’ positions, names, and colors. Every player is also connected to the same ODIN room—therefore all players that see each other also hear each other, of course, only if they are close enough and there is no wall between them.
In other voice SDKs, you would need to transfer a lot of information to the voice cloud or process the game world to set the volume and balance of players. We can improve a lot on this process.
In ODIN, nothing like that is required. There is one place where all information comes together: within the player's
Unity game client. Therefore, ODIN just uses the game engine's audio features. You only need to map the corresponding
player media stream coming from the ODIN server to the correct GameObject representing the player and
use AddPlaybackComponent
The sample comes with the AOdinMultiplayerAdapter
Cloning the repository
Please note: The repository uses LFS. You need to clone this repo with LFS enabled. Downloading the ZIP file via Github's Download ZIP functionality does not work!
To enable git lfs, enter git lfs install in your git bash in your local repository.
Project Structure
The ODIN-Demo project's scripts are split into the following categories:
- Audio: Scripts here handle the custom Audio System behavior like directional audio and occlusion effects.
- ODIN: Handles anything related to core ODIN features, without external dependencies. If you'd like to use a multiplayer framework other than Photon, you can safely reuse the files contained in this assembly.
- Photon: Anything Photon-specific is contained here, like joining Photon Rooms or synchronizing Player Position.
- GameLogic: Anything else required for the demo, like the player's movement or view state (1st-person or 3rd-person).
You can find demo settings in the Assets > ODIN-Demo > Settings directory, e.g., settings for the occlusion effects,
ODIN room names, Push-To-Talk settings, and Input definitions. Any prefabs used in the demo can be found in the
Assets > ODIN-Demo > Prefabs directory, with the player prefab being located in Resources.
The demo scene's hierarchy contains three root game objects used for categorizing behaviors:
- Environment: Contains all visible objects or lights that include the scene's visuals.
- Gamelogic: Behaviors like the
PhotonPlayerSpawneror the ODIN room join logic are placed here. - UI: The root object for in-game UI, like the settings menu or the radio room's active user display.
ODIN terms and behaviors
This is a short introduction to the most important ODIN terms—for more in-depth information, please take a look at the ODIN documentation.
Rooms, Peers, and Media
Every client connects to an ODIN server, authenticates with an access token, and joins a room. Once the client has joined a room, they are a peer inside the ODIN room. Every peer can add media to that room, linked to a physical device like a microphone. Clients can join multiple rooms at the same time and can add multiple media streams at the same time.
To find more information on the basic ODIN topology, please take a look at the Basic Concepts documentation.
OdinHandler
The OdinHandler script is a singleton behavior, wrapping the functionality of the native ODIN SDK for use in Unity. You
can access the script via OdinHandler.Instance.
The most important use cases are the OdinHandler.Instance.JoinRoom method for joining ODIN rooms and the events for
listening for ODIN events, like OnRoomJoin, OnPeerJoined, and OnMediaAdded. To use the OdinHandler, make sure to
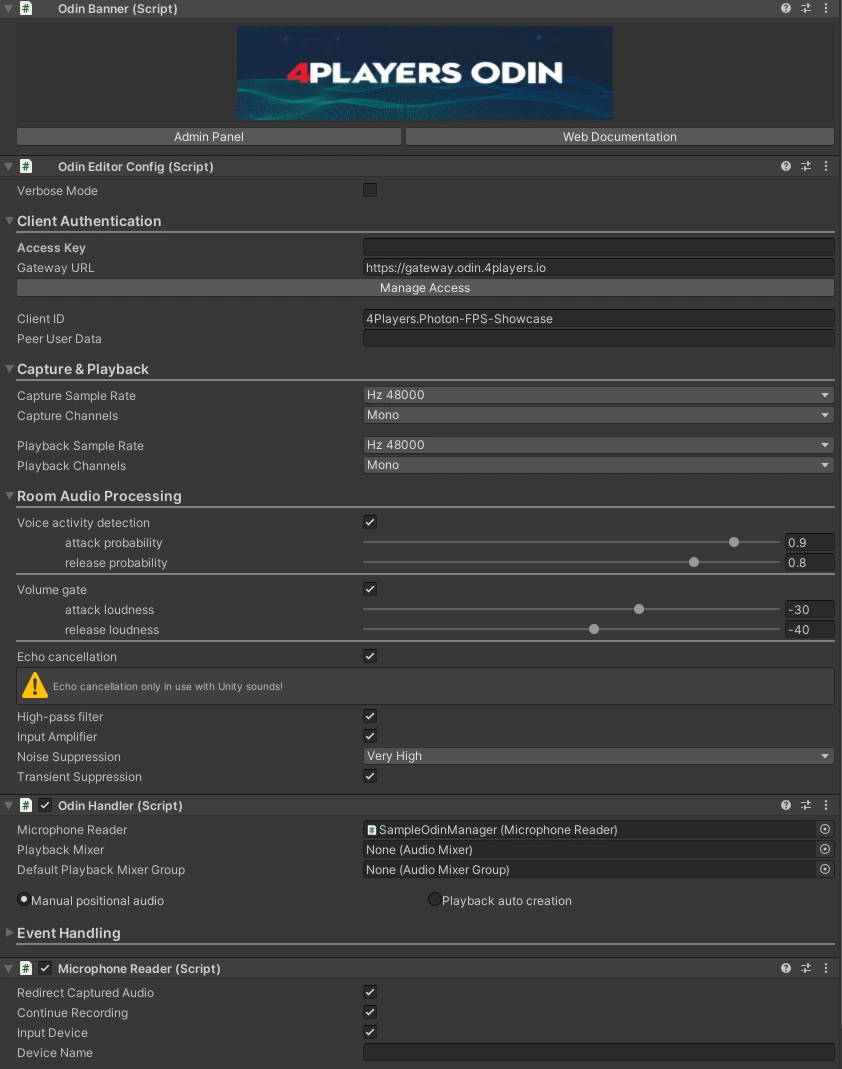
add a variant of the OdinManager prefab into your project. The prefab also contains the OdinEditorConfig script,
which allows us to set the Access Key and Room Audio Processing settings in the inspector.
If you don't yet have an ODIN subscription and just want to test out ODIN's functionality, you can use a generated key by pressing the Manage Access button and then selecting Generate Access Key. The resulting access keys can be used to access the ODIN network with up to 25 concurrently connected users free of charge.

PlaybackComponent
The ODIN SDK provides the PlaybackComponent script to easily play back audio data received from the ODIN server. Each
PlaybackComponent represents one media stream and is identified by a media ID, a peer ID, and a room name.
User Data
Every peer in Unity can store arbitrary information as user data. When local user data is updated, the server updates user data on all clients. Read more about user data in the guide: Understanding User Data.